This is the second part in the series of creating those awesome cool, animated GIFs of UI designs. In the first part we had used Adobe After Effects to create two compositions. One for transitions and animations of a weather app. The other one for how we want to present it on a mobile phone background. In this second part, we save our composition properly in preparation for optimizing it into a GIF.
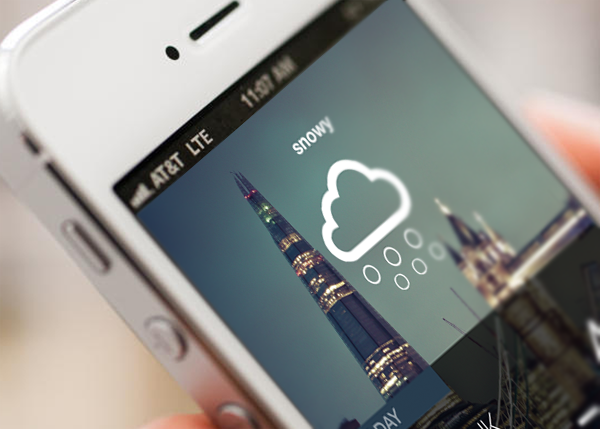
What is fast becoming one of the best ways of illustrating gestures and animations in mobile apps, animated GIFs offer a little more over traditional storyboards and static screenshots. To see how these animations are used in UI design presentations, you can click on the images below.


Design process
Our design process is very simple and in case you have not read the first part, here is the overview of the tutorial. The third tutorial details how the actual transitions were made.
In After Effects
- Create the transitions in one composition
- Create the presentation in another composition
- Export composition
I realize not everyone has After Effects and might want to create animations much quicker so I created a tutorial which uses Invision instead of After Effects for those on a tighter budget. Creating animated GIFs using Invision and Photoshop.
In Photoshop
4. Optimize into a GIF
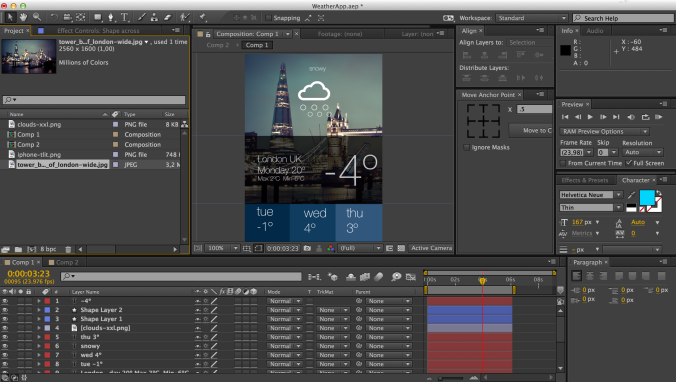
We ended up with one composition, Comp1 looking like this
And the Comp2 looking like
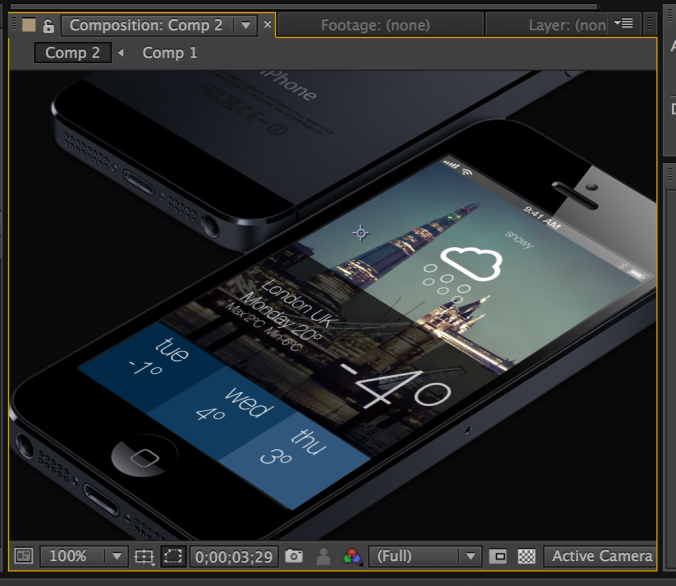
What is important to note, is that any changes to Comp1 filter through to Comp2 automatically, speeding up your design process if you want to make changes.
Exporting the composition
Step 1. To export the composition, save it as a .mov by selecting Composition > Pre-render. Then render and convert the file. This will save Comp2 as a .mov file.
Step 2. Fire up Adobe Photoshop and open the mov file.
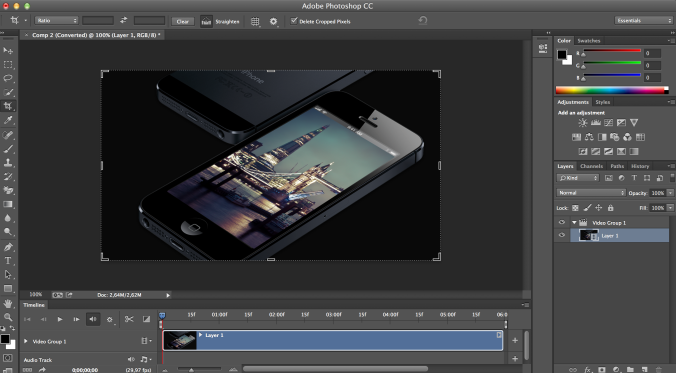
Step 3. Save the file by selecting File > Save for web. What is important to change is
- The file type; Make sure this is GIF
- Image size; Make this 600px to reduce the size of our file
- Animation; To make sure the GIF loops, chose the option Forever
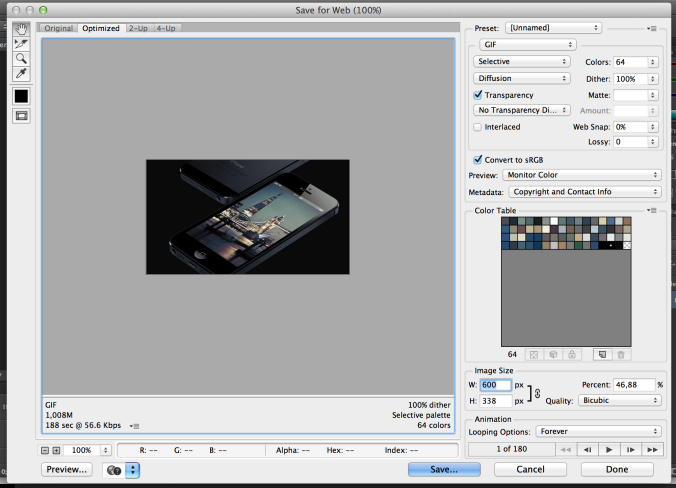
Preview the animation and if happy with the quality, click on Save and the GIF is saved to your machine. Well done you have successfully created an animated GIF.
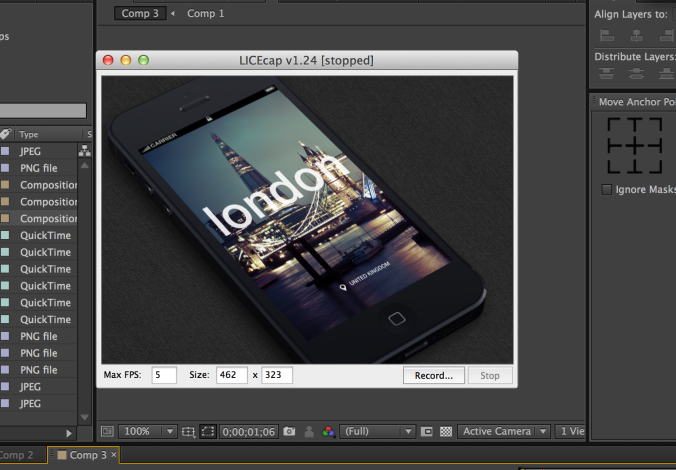
If you do not have Photoshop you can use LICEcap to capture an animated GIF directly from Adobe Affect Effects. One of the best free tools out there to make animated GIFs and instructional animations. One does not have as much control over colors as in Photoshop but it does get the job done.
If you enjoyed this article please like, follow or comment my blog. I would appreciate any feedback from special people like you. 😉