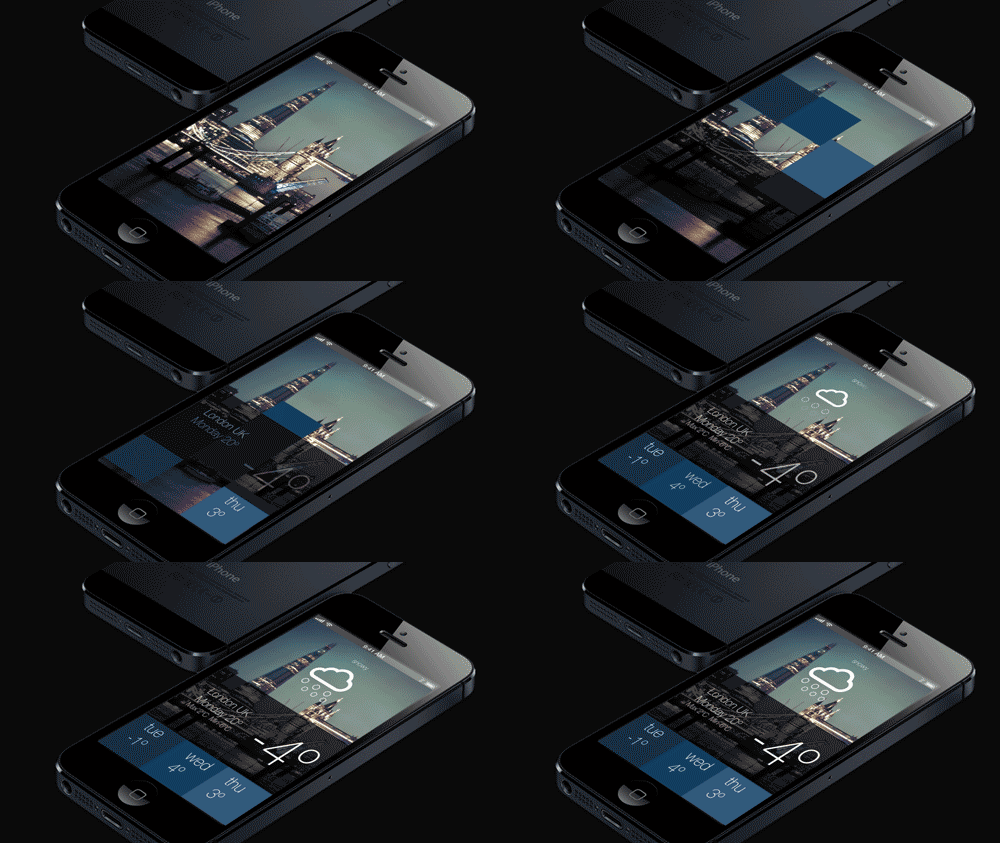
You may have seen really cool animated GIFs that design professionals are using to present UI design on Behance, Dribble and other design communities platforms and wondered how did they created them. What is fast becoming one of the best ways of illustrating gestures and animations in mobile apps, animated GIFs offer a little more over traditional storyboards and static screenshots. In Part 1 of the series, I show how to create the animated GIF above. The second part will explain how to export your files properly and optimize into a GIF. Download of project file is also available. The third and final tutorial breaks down the transitions and animations more fully. Click on the animations below to see how these awesome pieces can be used in a UI design presentation.


Key aspects of these animated GIFs are
- Showcase of actual work flows
- Convey the beautiful transitions between different app states
- Small size that can be embedded on the web
Well, let’s get right into it. Here are some of the resources you will need.
Tools
You will need
- After Effects CS6 or CC
- Photoshop CS6 or CC

![]()
I realize not everyone has After Effects and might want to create animations much quicker so I created a tutorial which uses Invision instead of After Effects for those on a tighter budget. Creating animated GIFs using Invision and Photoshop.
Resources
London background image
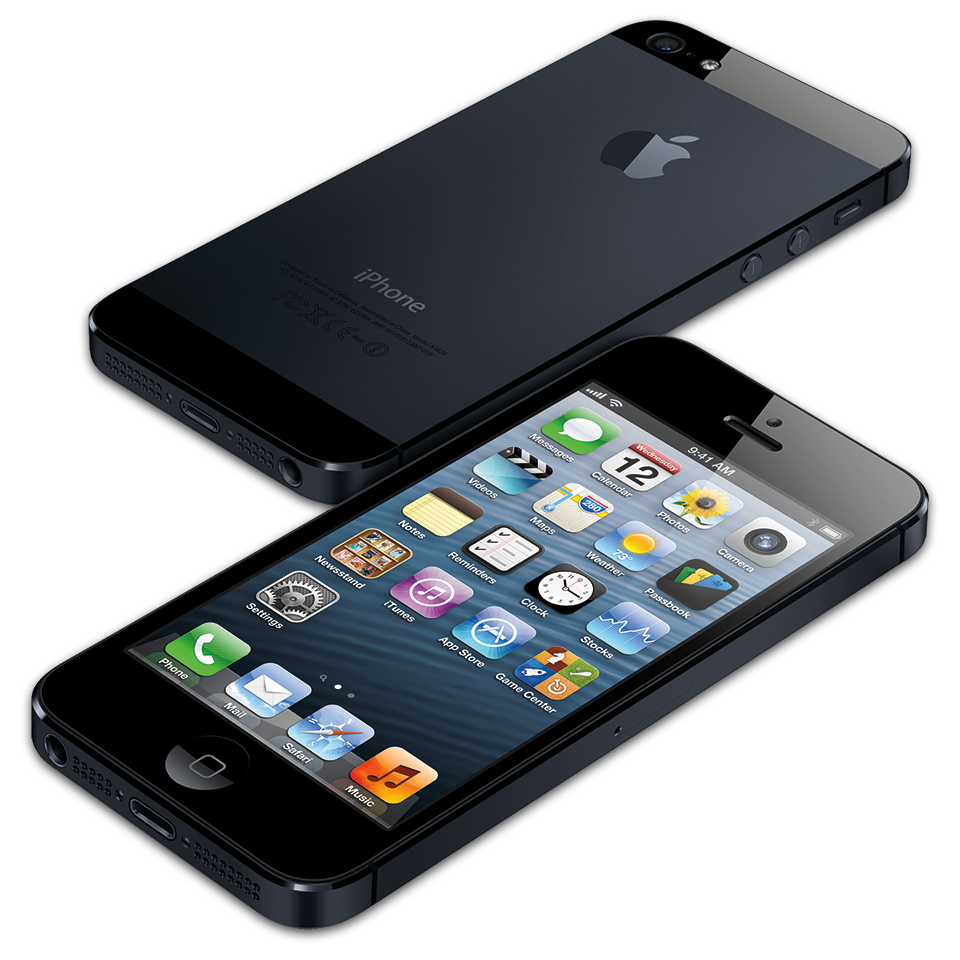
Tilted Iphone background image
Design process
Our design process is very simple and for those who would rather skip to the end, here is the overview of this tutorial. I will not explain the weather app’s intricate transitions which are applied in After Effects (Part 3 of this series will explain the transitions and how I applied them in AE) but will give you the overview of key points in the process. In After Effects
- Create the transitions in one composition
- Create the presentation in another composition
- Export composition
In Photoshop
4. Optimize into a GIF
Create your transition composition
Step 1. Fire up After Effects and create a Composition > New Composition Dimensions similar to the Iphone (either 320px by 480px or 640px by 960px) Frame rate 29 Duration 6 seconds 
Step 2. Import the background image of London by clicking on File > Import > File And then drag the PNG file under the Project window to the Comp1 window. Resize the background to fit the screen. 

Step 3. Create three blue boxes(Shape layers) of width 120px which will expand and fall down the screen during the animation and a fourth box on width 360px. Type in text of the weather and the forecast temperatures. 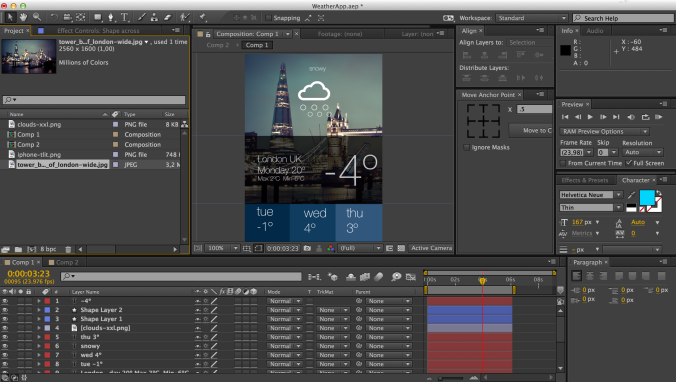
Step 4. Add the text Snowy at the top and a cloud with six circles (At this point you apply your transitions and animations to the text and the shape layers for the animation you desire). I will cover my transitions and cool animations that you can apply in Part 3. Follow the blog to get updates when I put it up.
Step 5. Save your project but do not close it.
Presentation composition
Step 1. Create a New composition within the same project. This will automatically be called Comp2. Dimensions: 1280px by 720 Frame rate: 29 The duration is dependant on the length of your effect. I had 6seconds.

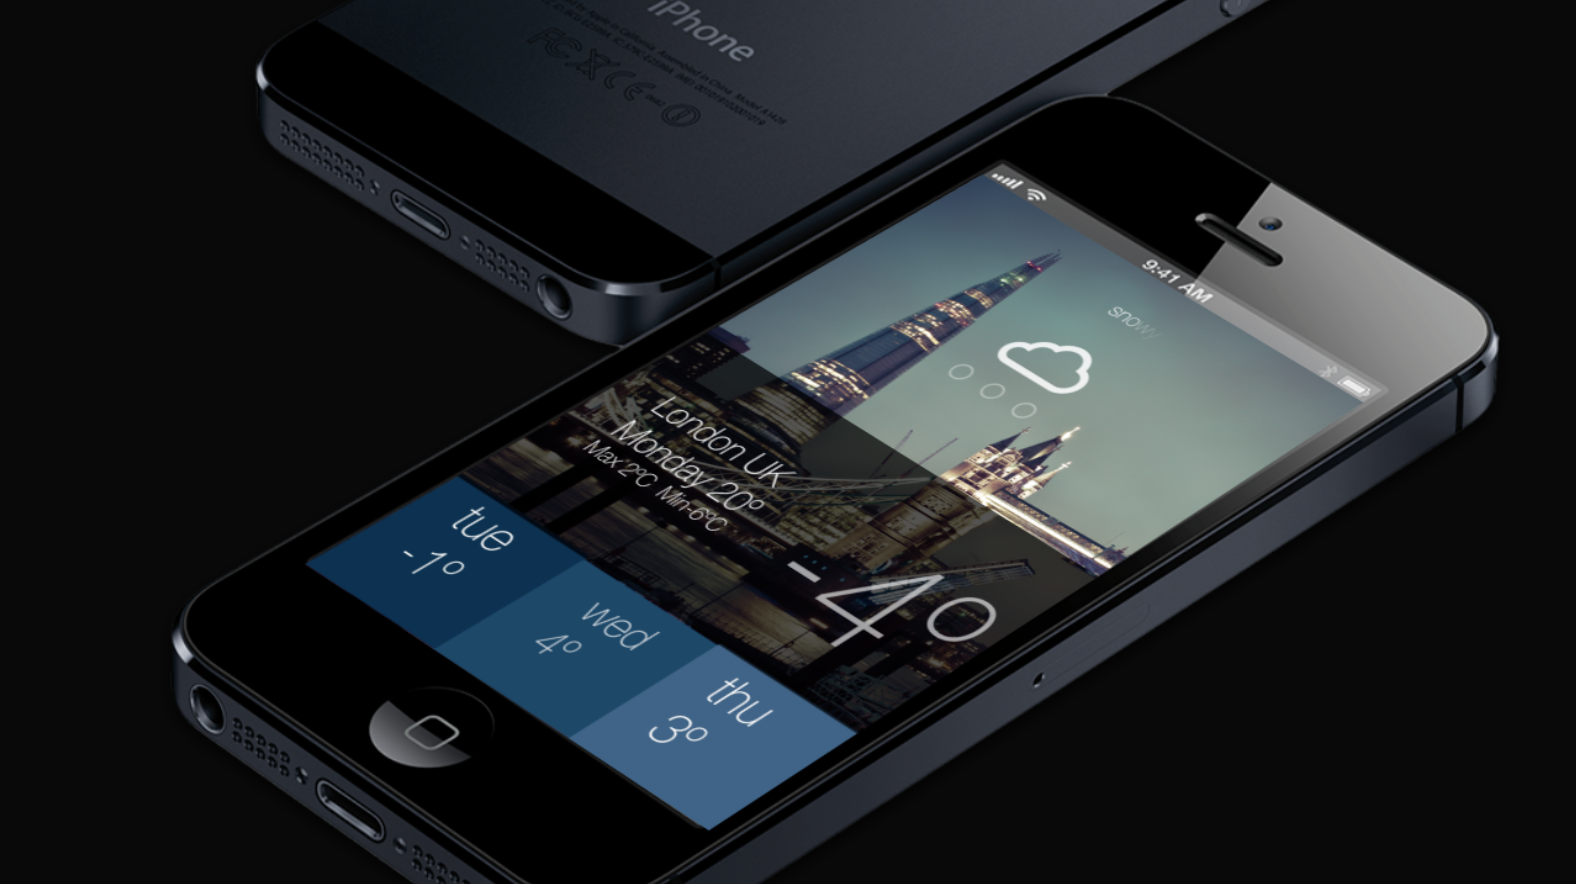
Step 2. Import the Iphone background and size it to the screen.
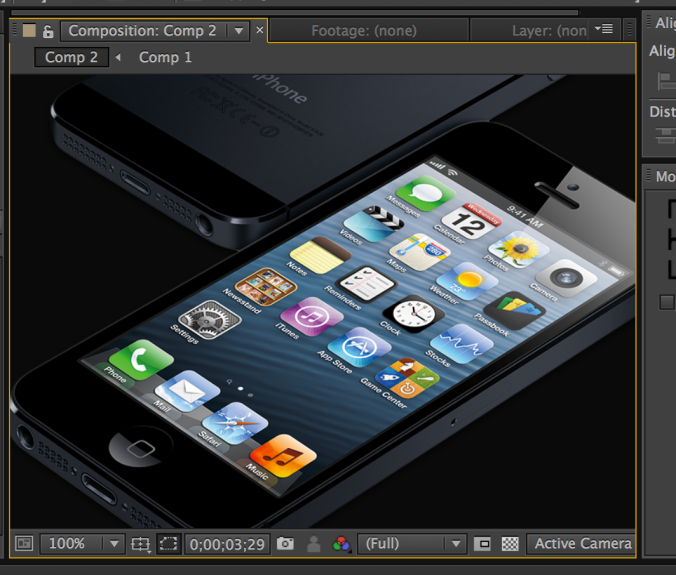
Step 3. Drag Comp1 from the Project window to the Comp2. You should now have the composition we created earlier, as a layer in the second composition.
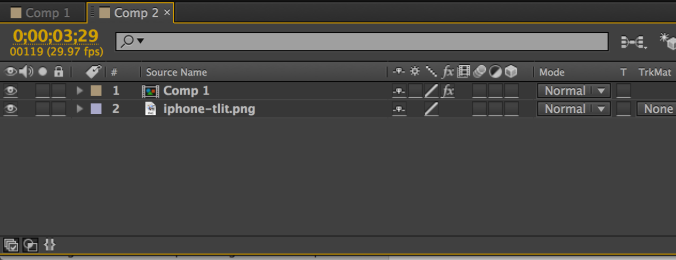

Step 4. As in Photoshop, we need to Distort the Comp1 layer to match with the background layer image. With the Comp1 layer selected, click on Effect > Distort > Corner Pin
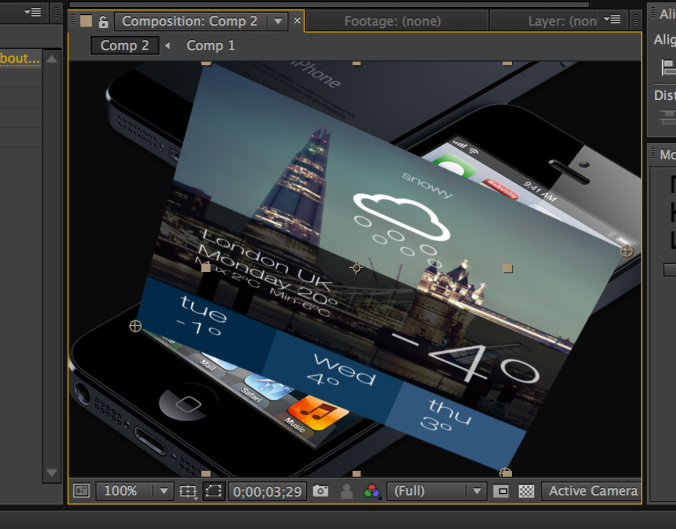
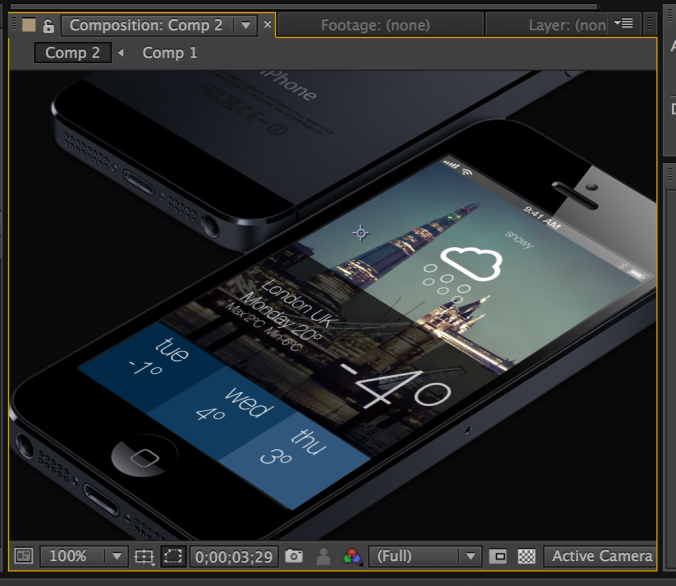
Step 5. Move the corners with a crossed circle on Comp1 to match with the corners of your background image until your composition looks like a finished article.
Some key points
When you play your second composition, your first composition’s animation will automatically play as well. Save your project. Well done, we have created an After Effects composition with key mobile animations and presented on a mobile phone background. In the next part of this series, we shall present how to save the project and eventually save it as a GIF. For now enjoy your creation.
Next steps
Click here for the second part to this tutorial.
If you enjoyed this article please like, follow or comment my blog. I would appreciate any feedback from special people like you. 😉





Thank you for this very useful tutorial.
You welcome Katia.
Reblogged this on Tariqdesign .
I thought this was a Windows Phone app… O_o
Hi, I desire to subscribe for this website to take newest updates, thus
where can i do it please help.
Hi, Look on you top right side on the site and you can click on the Follow button. Most appreciated.
Thanks, very well explained 😉
This is amazing, thanks for sharing 🙂