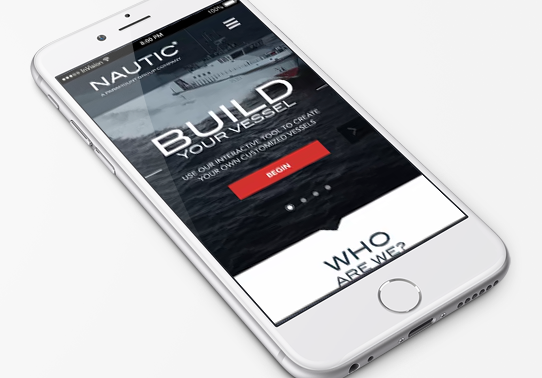
In the tutorial series “How to create animated GIFs for UI design presentations” we looked at how firstly to create and export the animations from After Effects and save as GIF in Photoshop. This process is very time consuming but the results are really impressive. After Effects allows for unique, quality animations and greater creative control. In this tutorial we will look at a simpler and faster technique for creating animated design GIFs for mobile app presentations using Invision, Camtasia, ScreenFlow and Photoshop.
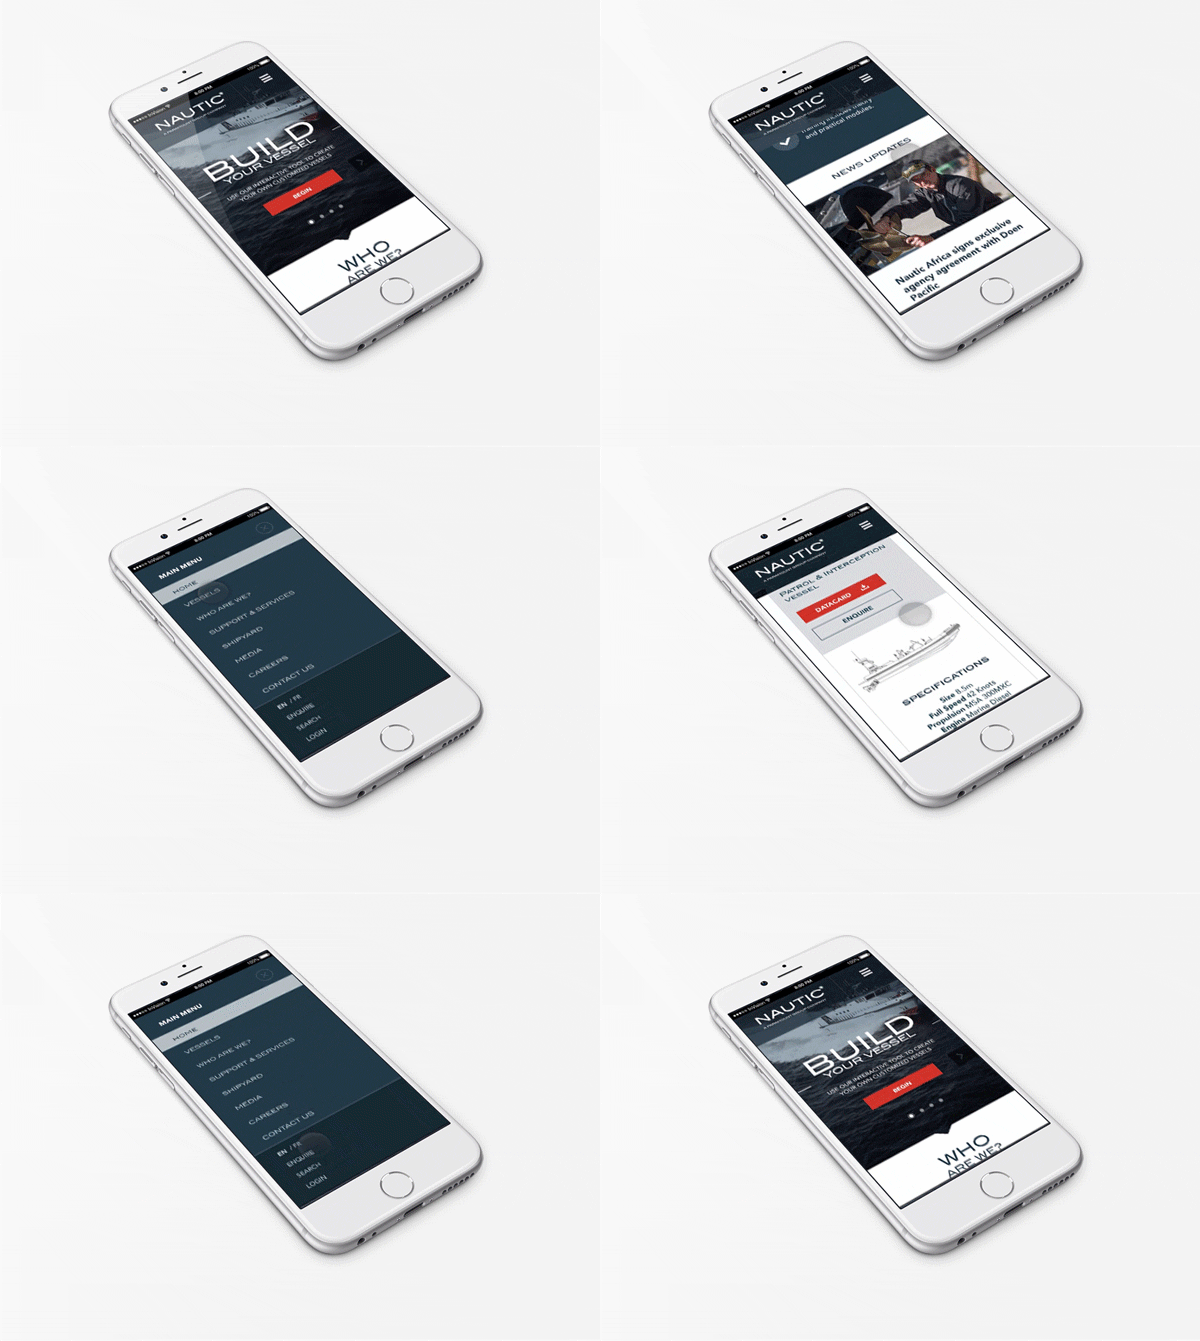

The final product we shall be creating in this tutorial.
Approximate time: 30minutes – 1 hour
Software you will need
1. Invision account
2. Camtasia or ScreenFlow
3. Photoshop
Design materials
Your mobile design screens
A Background presentation image
Our design process
Stage 1: We shall create the animation in Invision
Stage 2: Record and export it as a video using Camtasia or ScreenFlow
Stage 3: Position it on the presentation background and export as GIF in Photoshop
I have split this tutorial into two parts. The first part explains how to create, record and exporting the design animation. The second tutorial explains how to present the animation and export it as a GIF. Let’s start.
Stage 1. Creating animations in Invision
Invision
Invision is a design software for creating interactive clickable prototypes directly from visual designs. What is really key about the software product is its collection of interactions that can be rapidly applied to desktop and mobile designs. As a Senior designer, I have personally been using it for more than two years and its feature list is constantly been added to.
What is very cool about this technique in this tutorial, is how quickly animations can be created and how quickly the GIF can be exported. Invisionapp/Invision is also a cheaper alternative to After Effects as you can get a FREE account forever with the animations included. So let’s get right to it.
Step1: To begin, log into your online Invision account, create a new project and import your design screens.
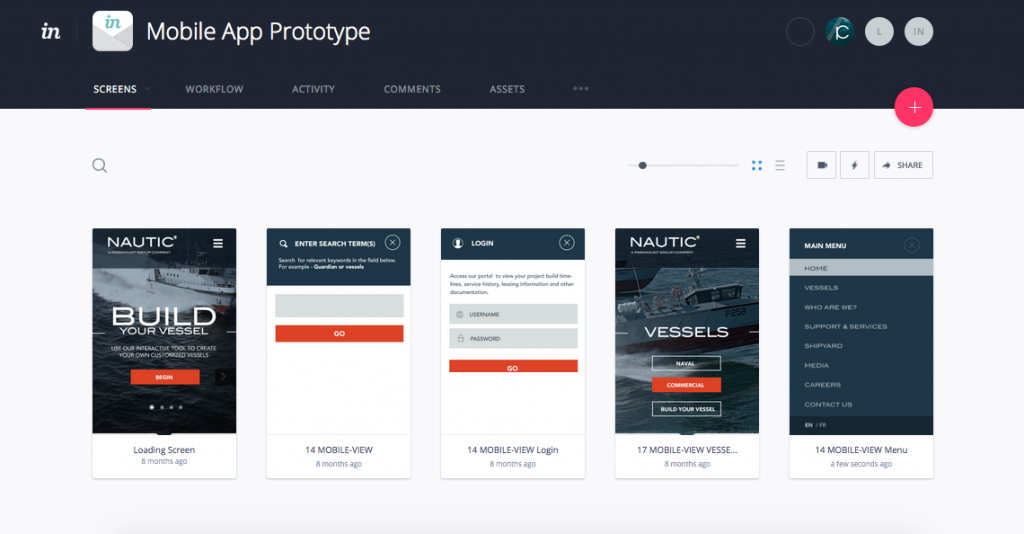
Step2: Next figure out how you want to showcase your screens and the transitions between them. Decide on your hotspots (these are areas that perform a certain action when clicked) and create them. Invision has several gestures and animations that can be applied on these hotspots in Build Mode.
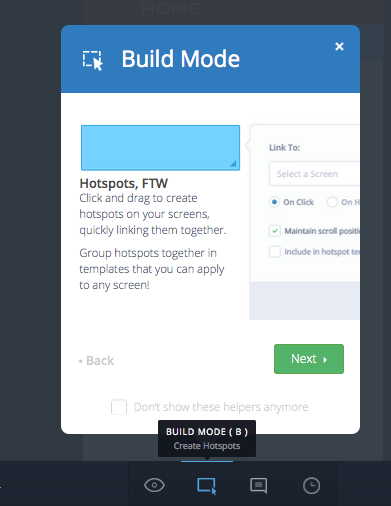
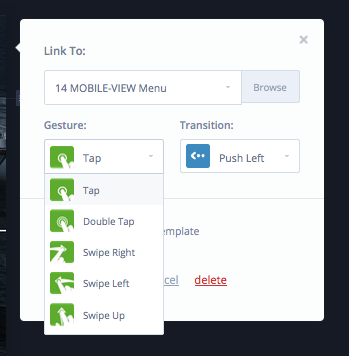
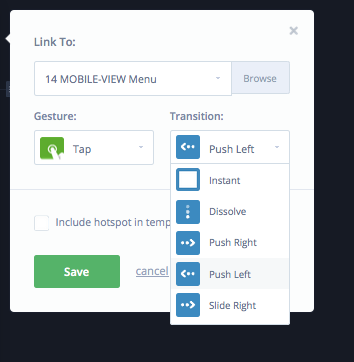
Step3: Once you are done, Invision will automatically save your project changes. Next go to Preview mode and click through your screens and make sure everything is work the way you want.
Stage 2. Recording and Exporting
NOTE: What is important to do upfront, is to decide on the interaction to showcase. Make the interaction short but showcase the best features of your app that will help your design presentation. Always end the interaction where you began it. This will ensure a smooth transition when you GIF loops.
In this step, we want to capture the interactions with the app design that we want to show on our final GIF.
Let’s look at recording using Camtasia first,

Camtasia has a free trial of its full features and available for download for Windows or Mac. Open up your Camtasia, click on record button and Full screen option will be selected. We want to change this to Custom Region. This will give a boundary box overlay which shows what will be recorded.
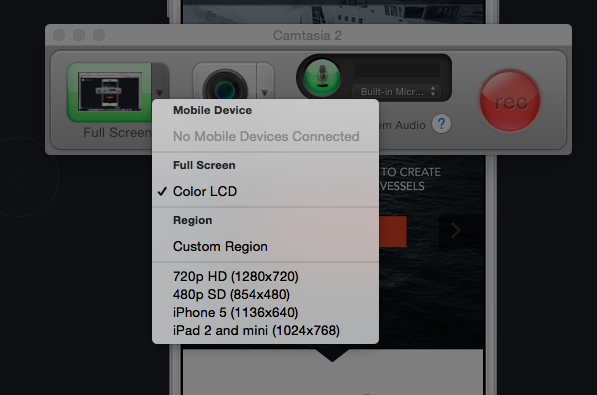
Switch off the audio to reduce the size of your output file.

Click on the red button to resize the boundary box to the size of only the rectangular screen of your design.
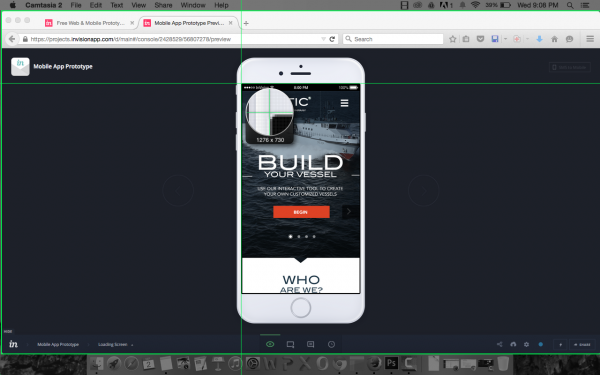
NOTE: LEAVE OUT the phone model from Invision when before recording. We only require the rectangular screen which have the animations and transitions you want to show case for your GIF presentation.
You should get a screen like this
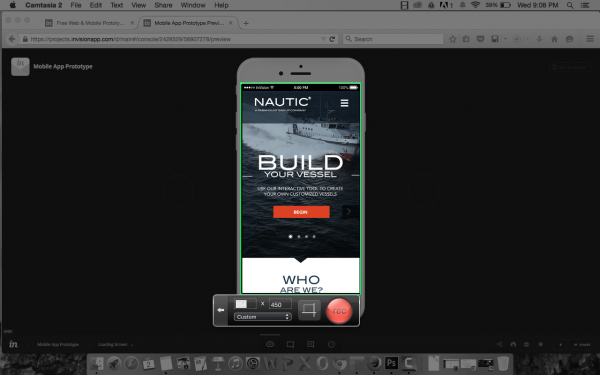
When you are ready, begin recording. Go through your rehearsed interaction you want to showcase and keep the recording short. After you are done stop the recording and Save your project file. Finally, export the file to a .MP4 file (Share > Export)and save it to your documents.
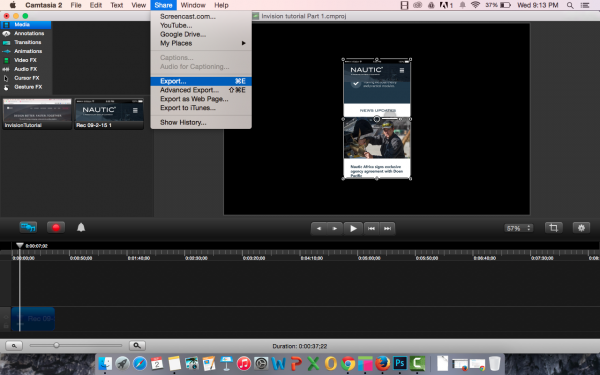
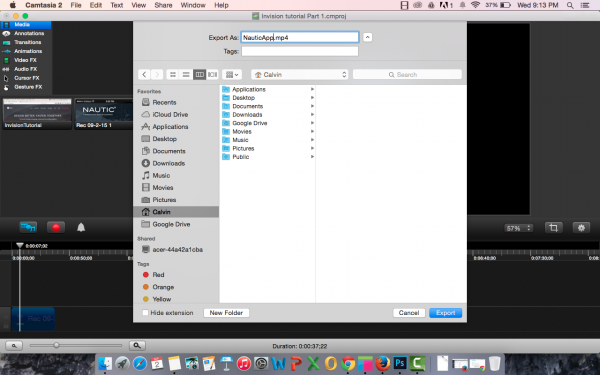
This is what you should have as a video file. You may need to resize your canvas when exporting so that you only get the rectangular video as below.
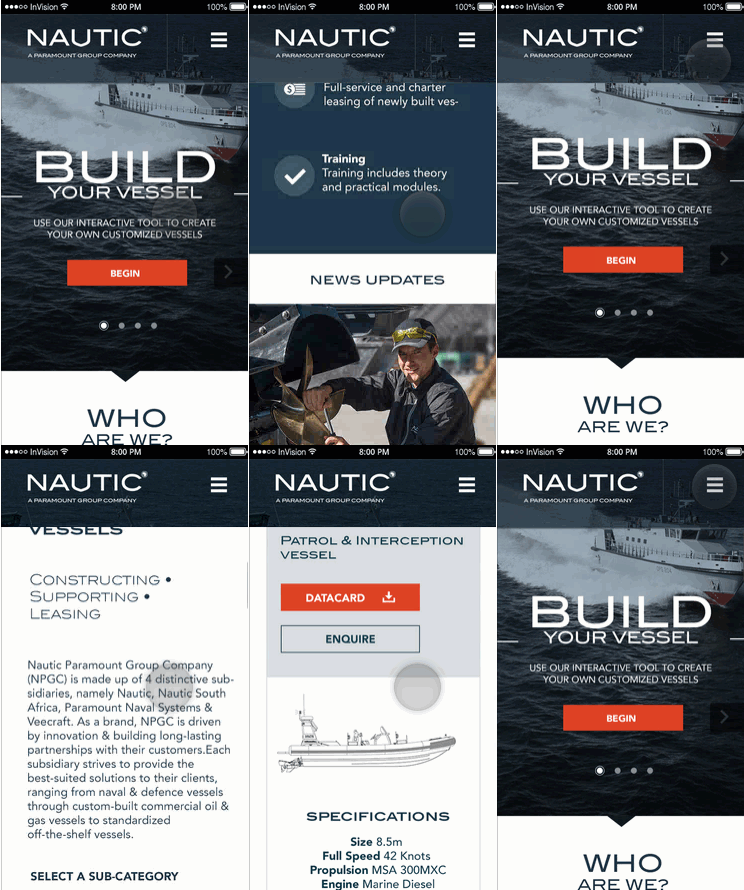
If you do not have Camtasia, I recommend Screenflow which is both a screen recording and video editing software. It has a trial version but if you will be using this technique frequently then it might be worthwhile purchasing. I work as a User Experience designer and frequently do screen recorded user tests, hence purchasing the recording software made a lot of sense.

ScreenFlow is a screen recording and video editing software.
Step1: Open up ScreenFlow and select new recording. Don’t record using FaceTime or Audio. Make sure these are off to reduce the size of your video output.
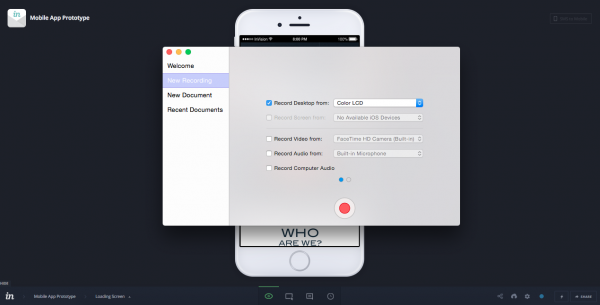
Here is how the recording will come out in ScreenFlow. The whole screen has been recorded.
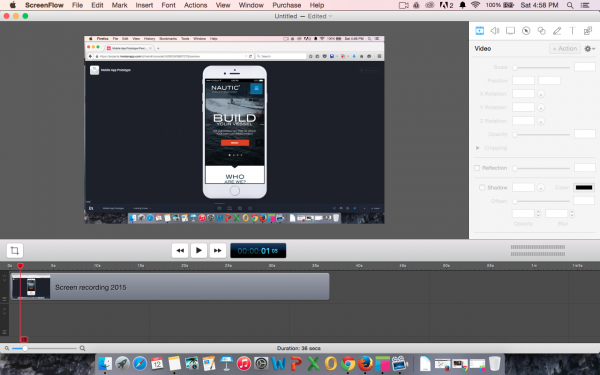
Step2: All we want though is the rectangular screen in the Iphone. To obtain this, we have to crop the video to an Iphone Portrait dimension and resize the video. Firstly, in ScreenFlow go to File > Document settings
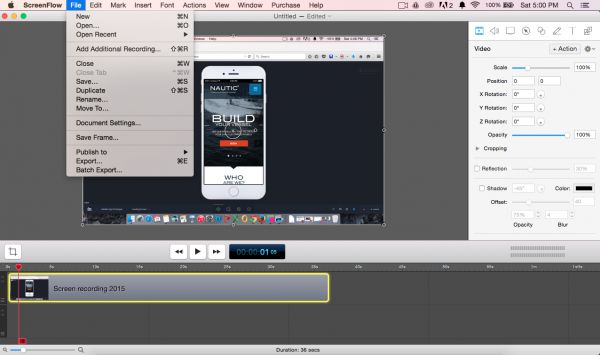
Step3: Next, select Iphone 6 Portrait to resize your screen.
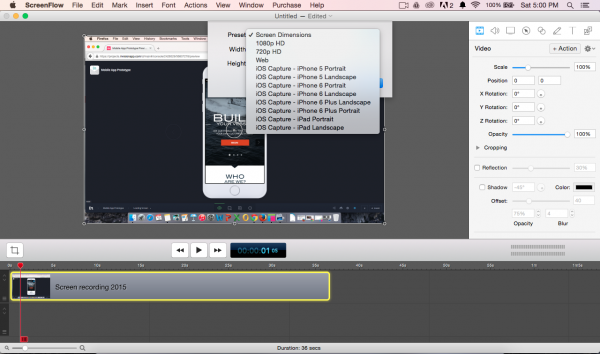
Step4: Re-adjust the video to fit the new document dimensions and make sure your canvas in ScreenFlow looks like this.
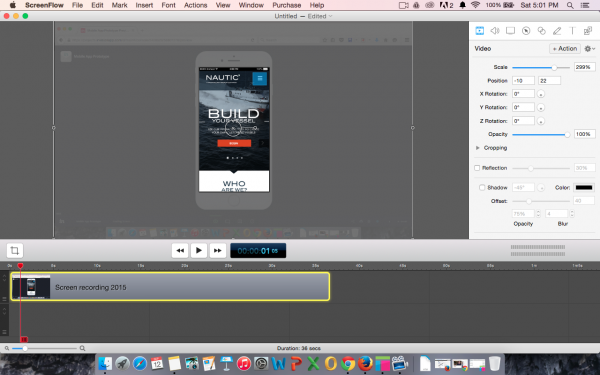
NOTE: LEAVE OUT the phone model from Invision, We only require the rectangular screen which have the animations and transitions you want to show case for your GIF presentation.
Step 5: Export your video by going to File > Export… in ScreenFlow
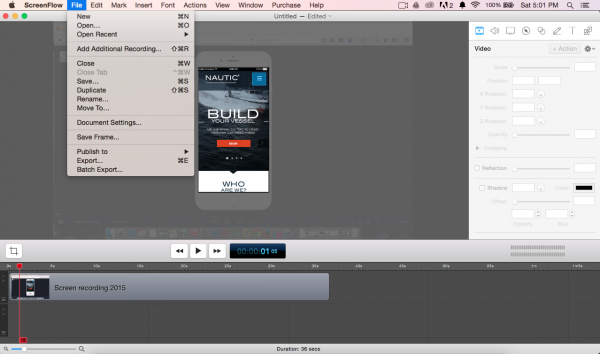
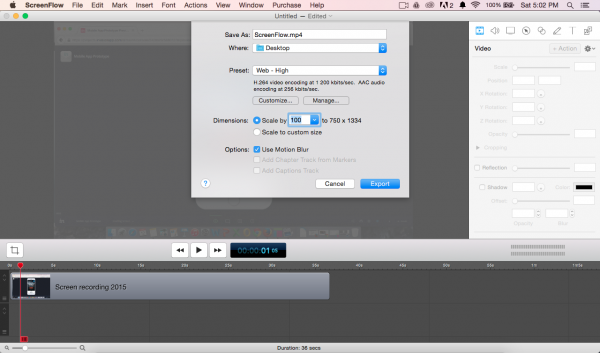
This is what you should have as a video file.

 That ends the first part of this tutorial. Play through your video and celebrate reaching this stage. You are almost done. The second part of this tutorial covers how to present the animation and the settings for exporting to a GIF in Photoshop.

