The first part of this tutorial explained how to create an animated UI design for a mobile app using Invision and record the animation using ScreenFlow.
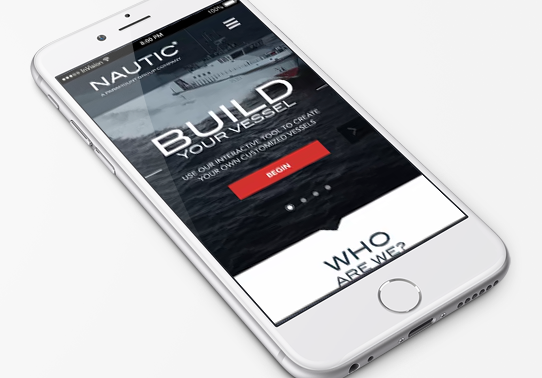
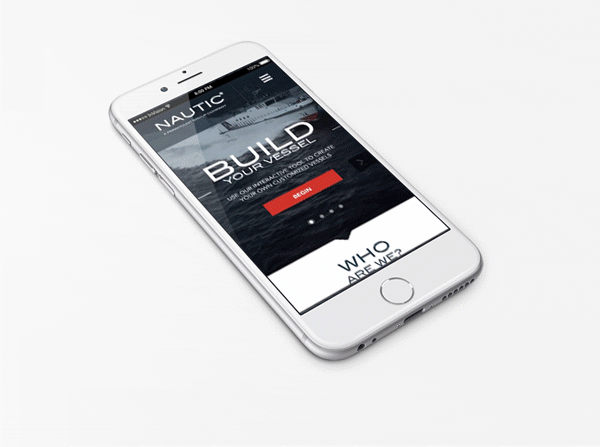
The second part of this tutorial covers how to put the finishing touches on your presentation and the settings for exporting to a GIF using Photoshop. What we shall be producing at the end of this tutorial.
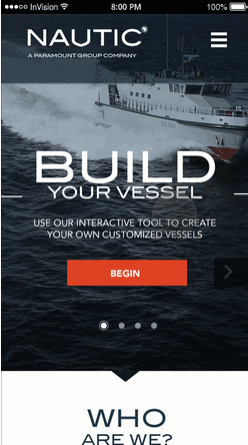
Here is the video file from the previous tutorial showing where we left off. This video file had be recorded using ScreenFlow and exported specifically to video.
 Approximate time: 40 minutes to 1 hour
Software you will need
Photoshop
Design materials
Your video file from part 1
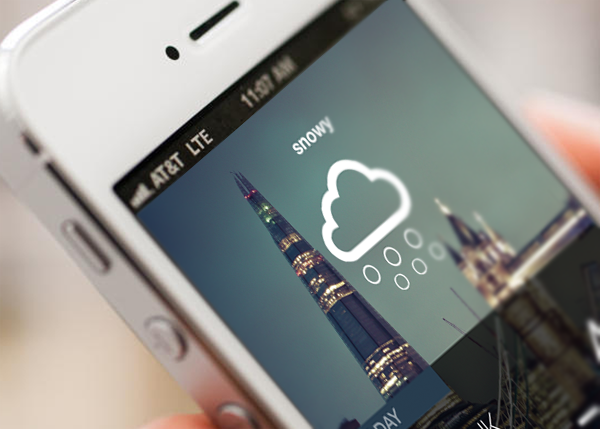
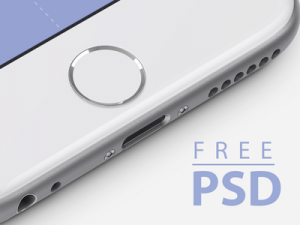
A Background image of an Iphone template
Our design process
Stage1:Position your mobile design on a presentation background
Stage2: Export as GIF in Photoshop
So let’s begin.
Stage1: Position it on the presentation background
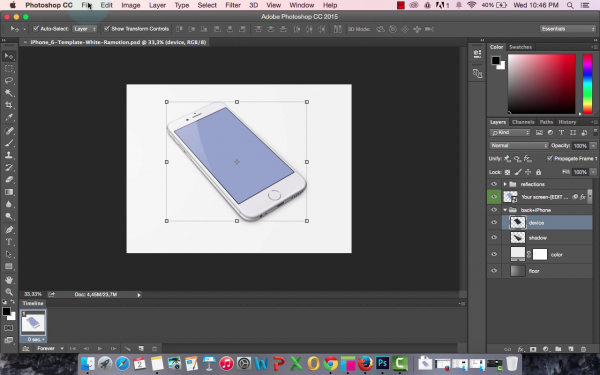
Step1: Fire up Photoshop and open your background for your final presentation. I downloaded a free Iphone template from Ramotion on Dribbble.
Step2: Import your video file using File > Import. Import it as layers.
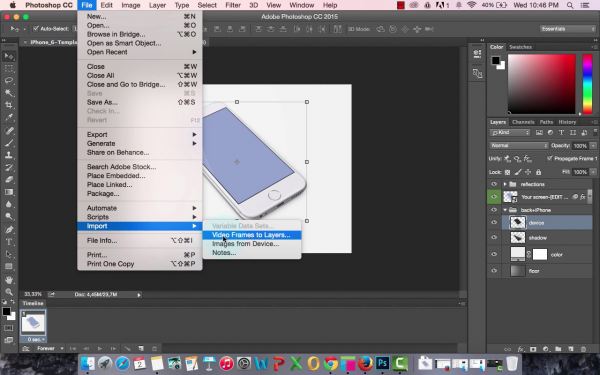
Step3: When importing as layers, select the checkbox on Limit to Every – frames. Set this either to 2 or 4 depending on the length of your design animation. The less frames, the more the layers created in Photoshop and potentially the larger your GIF. We want to make sure or GIF is small in size so that it loads quickly in a browser, so use 4 frames. Hit OK.

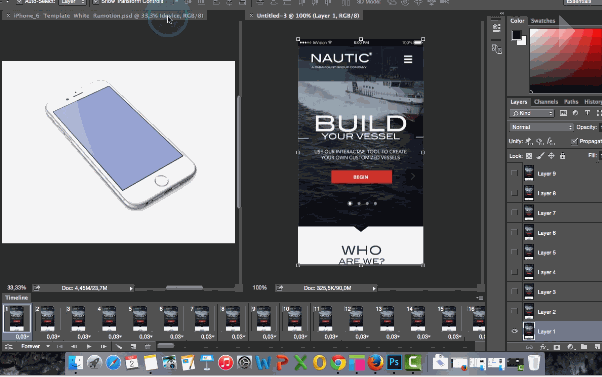
Step4: The timeline window should show up once the import is done with the animation laid out in frames.

Step5: Split your view by dragging one of the windows to the right. Once the windows are side by side, drag the background layer’s files to the design animation window and drop right below Layer 1.
Step6: Use the crop tool to resize the canvas to fit the background.
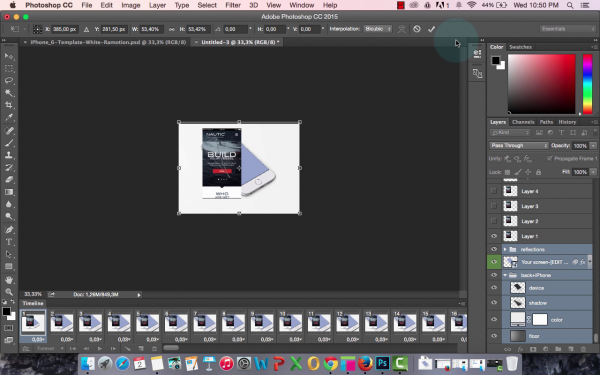
Step7: In the Tools window, select the Crop tool and resize the file to your dimensions similar to the Background Image. This might take a couple of seconds to render.
Step8: Select all the layers in the Layers window except for the Background image. Go to Edit > Transform >Distort and then zoom in and position the corners of you video file with that of the Background image.

Step9: Once you are done, click on approve and Timeline should reflect the changes you just made. Go to File -> Save For web. Your file will naturally be large to start off with but you can adjust the following settings to reduce the size: Color can be reduced to 128 if your file is too big and a good width would be around 600px to 700px.
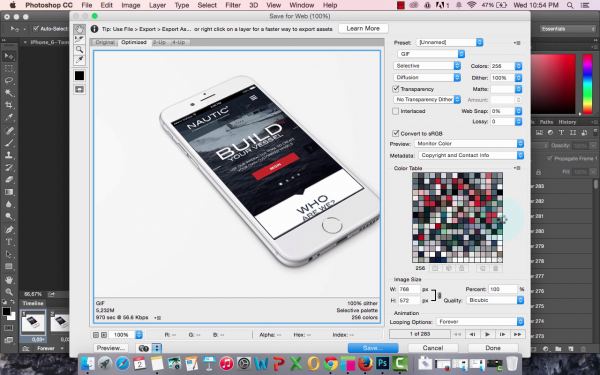
Make sure to select Loop Forever so that your
animation loops when it ends.
Step10: Click Save and your GIF should be created.
Well done you have created a design animation GIF for a mobile app using Invision and Photoshop.