Updated for 2025
Have you ever looked for free UX design tools online only to find that the software has a trial version for 30 days or asks you to start a trial with your credit card?
Definitely not helpful.
So I decided to compile 5 UX Design tools that are actually free wireframing tools and free prototyping tools. Most of these UX design tools are open source which ensures on some level that they are free. Are they the best free wireframing tools out there? Debatable but a really good start if you need a UX design tool that you don’t have to pay for. I explain what you can do with it, what other people have to say and share a tutorial so you can have a good feel for the tools.
5 Free UX Design tools in 2025 that are actually free
- Pencil Project
- Mockflow
- Wireframe.cc
- Fluid.ui
- Moqups
| Tool Name | Description | Learning Difficulty |
|---|---|---|
| Pencil Project | Open-source tool for creating wireframes and diagrams. | Medium |
| Mockflow | Cloud-based tool for quick wireframing and planning. | Easy |
| Wireframe.cc | Minimalist web app for simple wireframe creation. | Easy |
| Fluid.ui | Interactive wireframing with real-time collaboration. | Medium |
| Moqups | All-in-one design platform for wireframes and mockups. | Easy |
So let’s dive in


Pencil Project
An open-source GUI prototyping tool based on the Mozilla platform that can be used to create site wireframes and mockups.

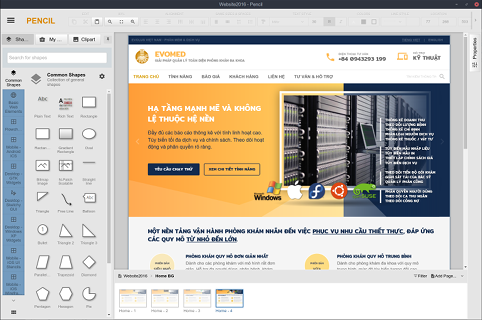

What can you do with it?
- Wireframe creation
- Flowchart/Diagramming
- Drag & drop
- Templates
- UI prototyping
What users of Pencil have to say


Pros: Pencil project is an Open Source software with multiplatform support
It has an important library of shapes for the creation of models and interfaces, with the look and feel of the most popular systems and platforms such as Android, IOS and Windows.
It has extensions to be worked from the web browser Mozilla Firefox.
Allows linking between the sheets of a project to optimally simulate the browsing experience between the screens of the model.
Cons: As graphical elements are inserted in the multiple sheets of the documents tends to put the software slower.


Pros: The ease with which this tool can be used offers impressive results and in a very friendly way. You do not have to be an expert to use it, you just have to be clear about what you want to do and the tool makes everything easy for you.
Cons: I have no problems for this product as it is the perfect tool for flow charts. It is very easy to use.
Overall: Speed when starting my personal and professional projects.
Speed when building flow diagrams.


Pros: Very intuitive. Great variety of icons. I don need to know about sistems development in order to working with it.
Cons: I think that its not easy to download. I couldn´t download my work in another format like .pdf or .jpg.
Overall: To learn about systems design. To make templates and mockups for my technology project. To express graphically process in a system.
Get a feel: Pencil wireframe tutorial

Site address: https://pencil.evolus.vn/
The community on Pencil Project actively creates and distributes different collections for free, enhancing the resources available to users and showcasing the collaborative nature of the tool’s user base.
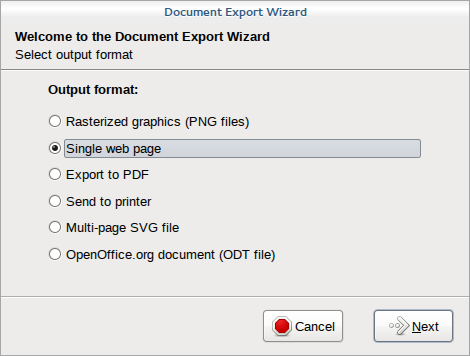
Diagrams created in Pencil Project can be exported in various formats such as PNG, PDF, ODT, or even as a web page, providing users with flexibility in sharing and presenting their work.
Pencil Project allows users to create flowcharts, apps for desktop/web/mobile, or general-purpose diagrams. It offers a built-in collection of shapes and stencils specifically for prototyping apps for Android and iOS.
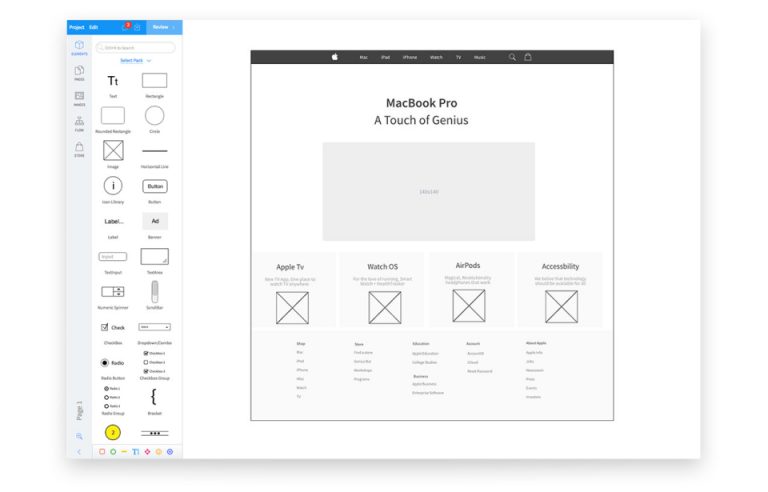
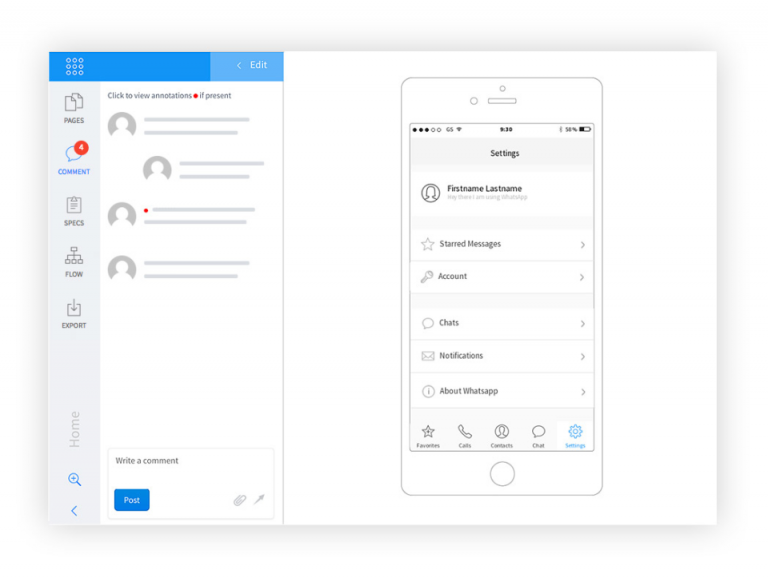
Mockflow
Web-based solution offering wireframe drag&drop editing, template library, real-time collaboration, wireframe export and sharing tools.


What can you do with it?
- Wireframe creation
- Collaboration
- Presentation tools
- Drag and drop
- Feedback management
What users of MockFlow have to say


Pros: You have everything you need to plan and design your web / mobile development project in one place. A free plan that is more than generous so anyone can start using it.
Amazing tools and presets to do about any wireframe you imagine. Mockflow offers integration with popular apps like MS Teams, Confluence, Trello, and Slack, enabling smooth collaboration and communication among team memb
When considering the use of Mockflow, there are several advantages and disadvantages to take into account.
On the positive side, Mockflow offers 50 additional tools that aid in enhancing the design process, along with a variety of premade templates that can expedite your work. It provides a centralized platform where you can conveniently create, share, and collaborate on design projects. Furthermore, designing with Mockflow is described as super easy and quick. Mockflow comes with presets that speed up the wireframing process, saving users time and effort that would otherwise be spent on creating shapes from scratch. This tool is designed to enhance productivity and streamline the design process, making it an excellent choice for individuals and teams working on various design projects.
Cons: Not many cons with this, the only comment I would have is to improve the copy and paste, it uses some sort of flash technology, understandable with what it offers but it can get annoying when you’re used to right hand click copy, and it does not show the copy or paste so you have to do a CTRL+C and CTLR+V to paste. (this might be a Firefox only related issue, just saying)
On the downside, the free version of Mockflow comes with limited features, restricting its benefits primarily to wireframing and creating mockups. Additionally, users may experience performance issues when dealing with multiple pages on the platform.
Overall: I was in a rush 5 month ago to plan a large web / mobile application for a client. I use a lot of wireframing tools depending on the project, but I wanted to try something new and had seen mock flow a few weeks back so thought why not give it a try. At this time I was mostly looking for speed, to catch up with the planning stage. Within 1 hour of playing with the wireframing tools, I had designed 30% of the project. At this point I was sold, and had already bought the license and am I glad I did, it opened up access to all the other tools such as able to see a site map of your application designs with one click, with other tools I always had to draw those by hand, now I can just export. It also gave me access to a website builder, design collaboration and annotation, banner designer and timeline manager. This puts everything I need to get this project from planning stage to production in one place. Love it, keep up the great work!
Get a feel: MockFlow tutorial interaction
Site address:https://www.mockflow.com/pricing/
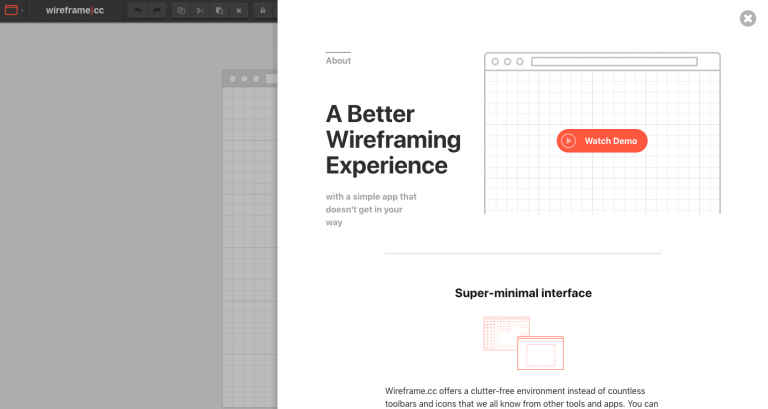
Wireframe.cc
Wireframing software providing unique url for sharing and bookmarking, version control, annotations, click and drag drawing.


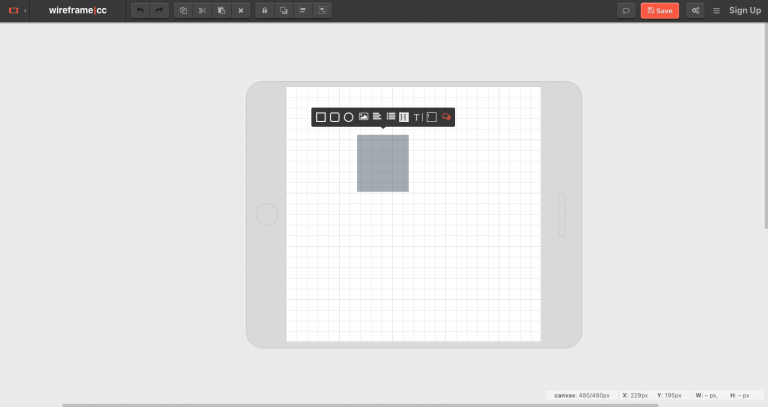
What can you do with it?
- Wireframe creation
- Collaboration
- Revision history
- Interactive elements
- Mobile interface
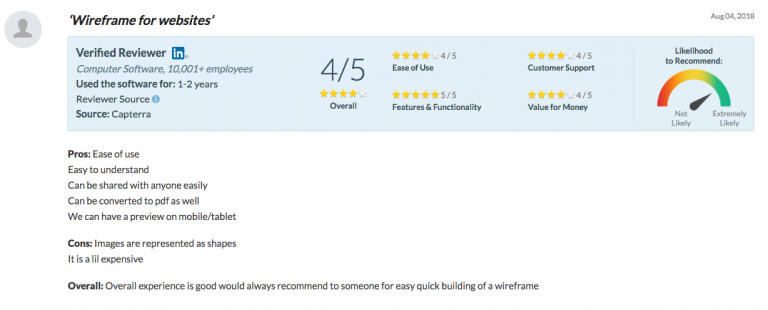
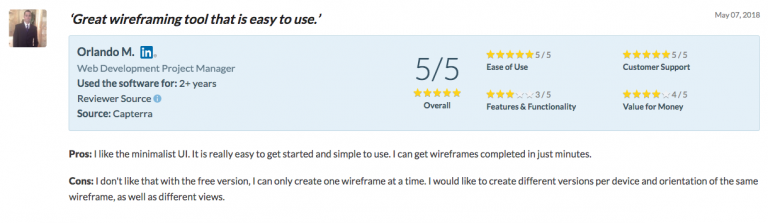
What users of Wireframe.cc have to say


Get a feel: Wireframe.cc tutorial and examples

Site address: https://wireframe.cc
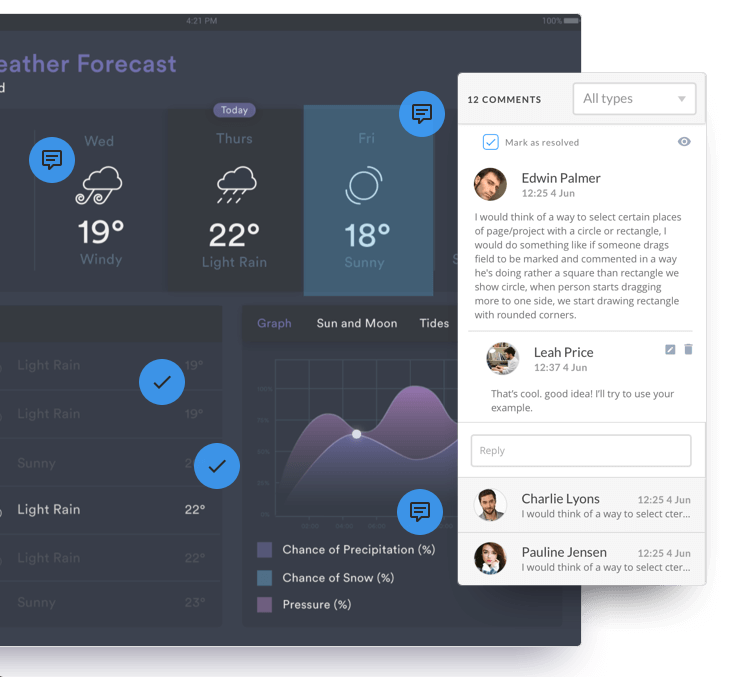
Fluidui
A tool that allows you to design prototypes, wireframes, mockups and collaborate in real time.

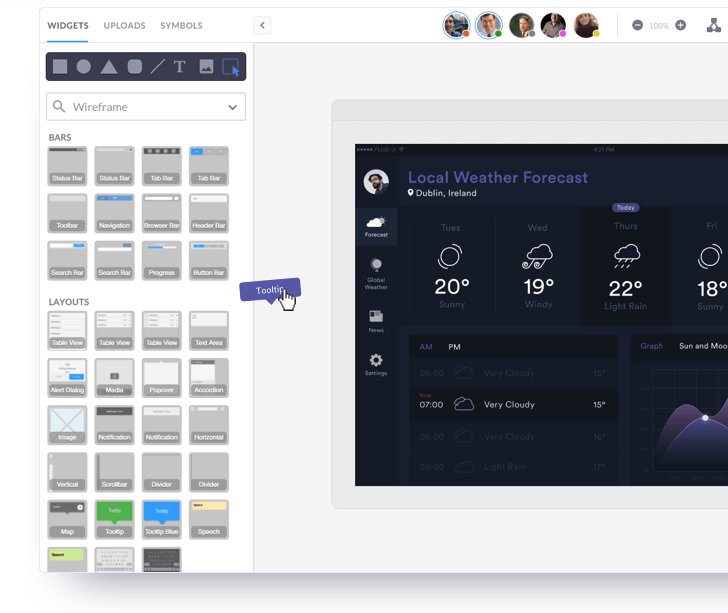

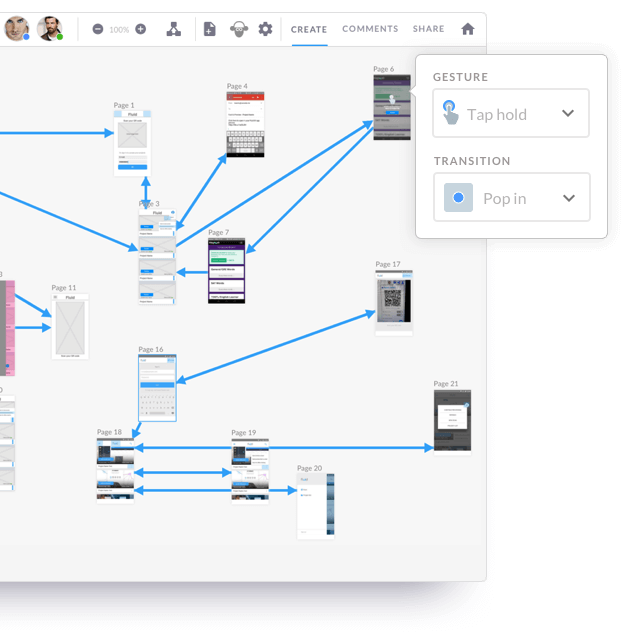

What can you do with it?
- Wireframe creation
- Collaboration
- Drag and drop
- Revision history
- Screen capture
- Prototyping
- Usability testing
- Interactive elements
- Mobile interface
- Feedback management
- Page linking
Site address: https://www.fluidui.com/plans
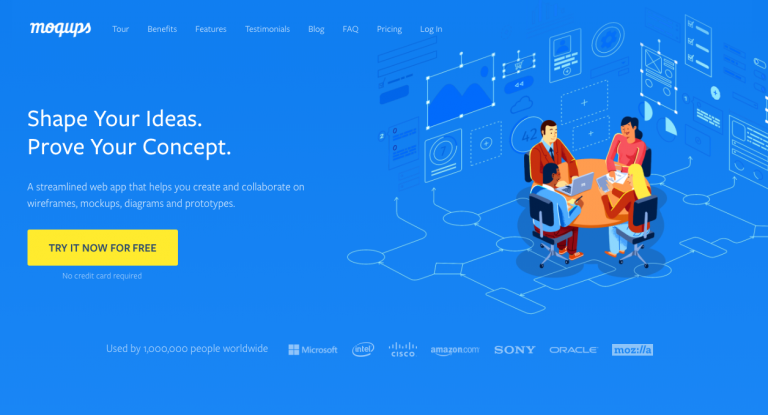
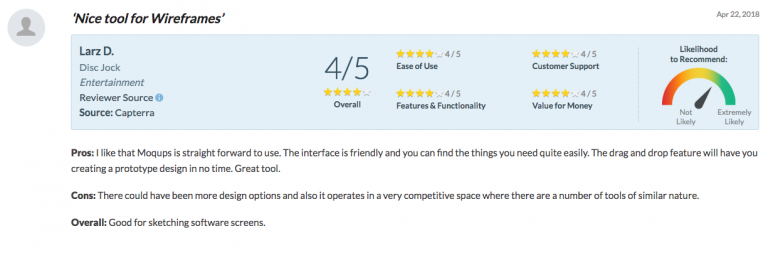
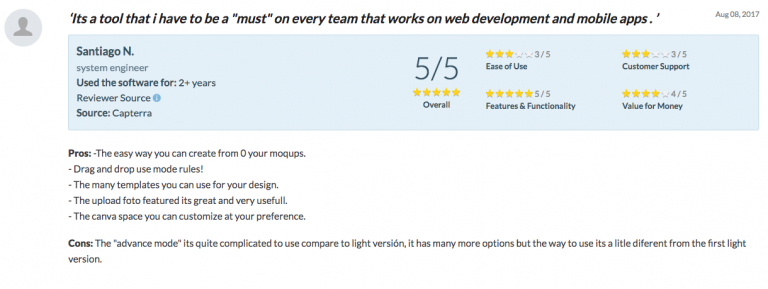
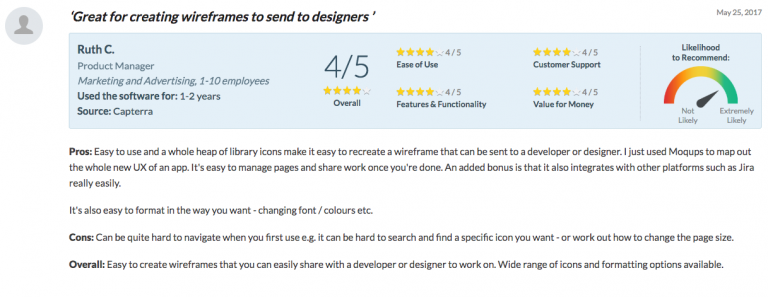
Moqups
A streamlined web app that helps you create and collaborate on wireframes, mockups, diagrams and prototypes.

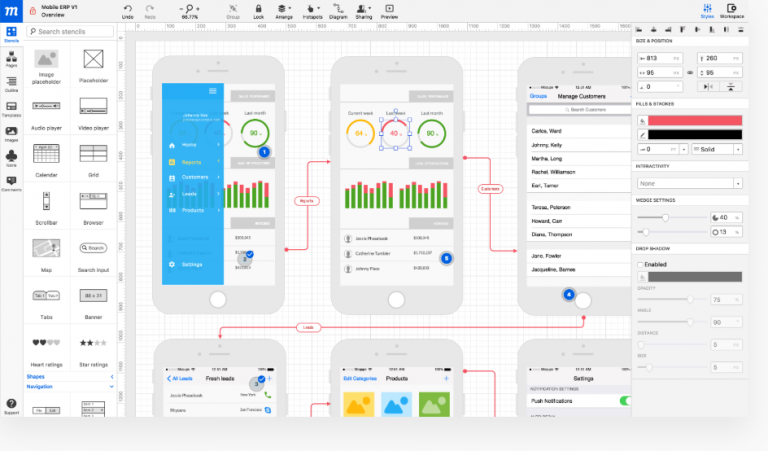

What can you do with it?
- Wireframe creation
- Collaboration
- Drag and drop
- Prototyping
- Diagramming tools
- Flowcharts


Get a feel: Moqups tutorial and examples
Site address: https://moqups.com/
Figma
Figma is a semi “free”, online UI tool to create, collaborate, prototype, and handoff. Figma lives in the browser and works on Windows, Chrome, Mac, and Linux. All of your work is autosaved which you can access with Figma’s version history. It’s lightweight, fast and doesn’t need to be installed to use or share files.
Figma has a Starter package on its pricing page that has the following offering
- 3 Figma and 3 FigJam files
- Unlimited personal files
- Unlimited collaborators
- Plugins and templates
- Mobile app
Site address: https://www.figma.com/
Now it’s your turn
I hope you enjoyed my list of 5 free UX design tools, that are actually free in 2025. If so please share this article with a colleague, a student or someone you know is transitioning into UX design.
| Tool Name | Description | Learning Difficulty | Pros | Cons |
|---|---|---|---|---|
| Pencil Project | Open-source tool for creating wireframes and diagrams. | Medium | Free and cross-platform; short learning curve; allows creation of custom UI shape libraries. | Outdated templates; lacks modern UI elements; performance may slow with complex projects. |
| Mockflow | Cloud-based tool for quick wireframing and planning. | Easy | User-friendly interface; extensive template library; real-time collaboration features. | Limited global editing capabilities; some features require paid plans. |
| Wireframe.cc | Minimalist web app for simple wireframe creation. | Easy | Browser-based; extremely easy to use; clutter-free interface ideal for quick wireframing. | Limited to low-fidelity wireframes; lacks collaboration tools; limited customer support. |
| Fluid.ui | Interactive wireframing with real-time collaboration. | Medium | Supports interactive prototyping; real-time collaboration; extensive UI libraries. | Some advanced features require paid plans; may have a steeper learning curve for beginners. |
| Moqups | All-in-one design platform for wireframes and mockups. | Easy | Intuitive interface; extensive stencil library; easy sharing and collaboration features. | Limited offline capabilities; some advanced features require paid plans; occasional performance issues with large projects. |
What to read next:
Check out my other reviews